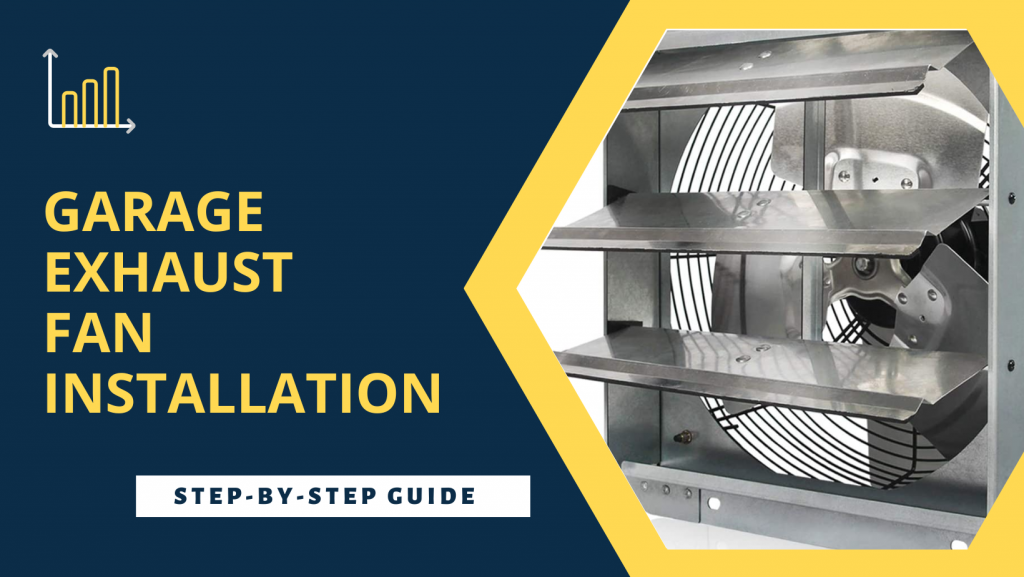
Our topic in this article will be; garage exhaust fan installation.
Garage exhaust fans are essential for a well-ventilated garage. Homeowners have been turning to garage exhaust vent fans for years after learning that poorly vented garages make their spaces unhealthier and more vulnerable to mold and allergens (such as pollen).
Check out our article – Top 5 Solar Powered Exhaust Fans For Shed – Buyers Guide
Comparison Table
Garage Vent Fan Installation:
If you are thinking of installing a garage exhaust fan, you must follow the instructions so you don’t end up with a box with no exhaust function. In this step-by-step guide, you will learn how to install an exhaust fan in the garage.
Step 1: Planning
Find an ideal venting location in the garage where you will install your exhaust fan. After that, you will need to cut a hole roughly 14″ x 14″ in between the wall studs.
Both the inside and outside of the wall will be fitted with self-closing shutter vents. Lastly, you will install an exhaust fan on the inside to ventilate the garage. It will be important to have double shutter vents during the winter to keep cold air out.
Here’s An Amazing 16″ Metal Shutter Exhaust Fan That We Have Selected For This Guide
This model does not require wiring since it plugs directly into an outlet. Make sure you have a wireless switch available for it, so you can activate it from the other side of the garage.
Check Out This Amazon Link For A Fabulous Wireless Wall Switch
We have selected a 14″ aluminum shutter vent for the exterior wall.
Step 2: Gather your tools
The following materials will be needed for Garage Exhaust Fan Installation:
- Mounting bolts and screws
- Sealant or Caulk
- Regular Screwdriver Set
- Wireless switch
- Shutter vent
- Flashing tape
- Siding removal tool
Step 3: Cut a Hole & Seal the Edges
It is necessary to cut a hole (14″ x 14″) in the area where you will install your fan once you have decided where it will be installed.
The next step is to seal the hole’s top and bottom edges with Sealant or Caulk.
This Gorilla Waterproof Caulk Below Is A Best-Seller On Amazon
You have to make sure you do not leave any insulation in the hole, as it may cause a fire. Then, you need to cut two pieces of 2x4s and insert them into the top and bottom. Use pocket hole screws to attach them to the wall studs.
Check Out This Amazing Milescraft Pocket Screw Kit
The 2x4s can be made easier to maneuver by putting temporary hooks on them.
Credit: justmeasuringup
Here is a picture of the 2x4s sealed into the bottom of the hole:
Credit: justmeasuringup
Step 4: Construct A Vent Frame (J Channel Frame)
When you cut a hole in the wall, you should make sure that the exterior side is waterproof. To prevent water from penetrating the siding, J channels need to be installed. In this way, a frame could be built around the vent, overlapping the siding and protecting the edges. The following picture shows 4 pieces of J channel cut to create the vent frame:
Credit: justmeasuringup
Make a square by cutting the pieces to size and nailing the ends together.
Step 5: Preparing The Sidings
The exterior vent must be installed under the siding, which requires several pieces of siding to be removed. A siding removal tool makes it easy to remove siding from walls.
Here’s An Excellent Siding Removal Tool On Amazon
As a result, you will be able to continue working on the hole. You will need to seal the hole’s edges with some flashing tape to help waterproof it.
Take A Look At This Great Flashing Tape That Works Fantastic
Step 6: Construct A J Channel Frame For The Garage Vent
The shutter vent should then be inserted and nailed to the wall studs. You can buy a shutter vent separately if your model does not come with one.
This Amazing Shutter Vent Is Highly Rated On Amazon
After that, attach the J channel frame.
Credit: justmeasuringup
This is how the vent will look from the inside:
Credit: justmeasuringup
Step 7: Construct A Wooden Frame Spacer To Install The Exhaust Fan
You will then need to construct a framed wooden spacer for the garage wall exhaust fan.
The exhaust fan will need enough distance from the hole for the shutters to function properly, so you’ll need to build a 2x4s wooden frame between the wall and the fan.
Use the miter saw to cut some 2x4s to length. Using pocket hole screws, attach them to form a frame.
Below is an image of the garage wall exhaust fan frame:
Credit: justmeasuringup
Finally, the exhaust fan is mounted on the wall. Attach the fan to the 2x4s frame and make sure the shutters open and close freely. Use heavy-duty screws to attach the fan to the 2x4s frame. The picture below shows a mounted garage wall exhaust fan (powered on) from the inside:
Credit: justmeasuringup
Check Out This Video On Youtube That Explains The Process Of Installing An Exhaust Fan In The Garage
FAQs
1- Is it worth it to invest in a garage fan?
In order to improve your garage’s ventilation, you might benefit from installing a garage exhaust fan if it’s humid, hot, and uncomfortable. The system will help you get rid of moisture, heat, and airborne allergens and improve the quality and comfort of your garage’s air.
2- How many vents should I have for my garage?
As a general rule of thumb, if the attic has a vapor barrier, one vent per 300 square feet of attic area is recommended. Otherwise, every 150 square feet should have one vent.
3- What causes my garage to become so hot in the summer?
In the summer, garages feel like saunas for two main reasons. Firstly, there is a lack of ventilation, and secondly, there is a lack of insulation. By installing an exhaust fan in the garage, you will be able to solve this issue and keep the garage cool and ventilated.
Final Thoughts
You can’t breathe properly in a garage or workshop if there is no ventilation. This is why exhaust fan installation in a garage is so important. It helps to remove carbon dioxide and other chemicals from the air. It also helps to reduce the moisture level that can be dangerous for your health and cause damage to your properties. Always remember to maintain your exhaust fan fitting regularly to make sure that it is always working properly. Hopefully, this review at Whatfans.com will assist you in installing an exhaust fan in the garage.
Best Deals on Amazon
iPower Variable Shutter Exhaust Fan
iLiving 24 Wall Mounted Exhaust Fan
VENTISOL 12 Inch Variable Shutter Exhaust Fan
Check Out WhatFans Other Articles & Reviews below –
Top 5 Solar Powered Exhaust Fans For Shed – Buyers Guide
Dyson Cool Tower Fan AM07 Review
How Much Electricity Does a Bathroom Fan Use?